Showing posts with label summer. Show all posts

Sunday, May 1, 2011

Pot Luck!!!

Last summer I saw this post at Positively Splendid....and wanted to make one, but my list of "wants to do" gets interrupted regularly by my "have to do" list :(


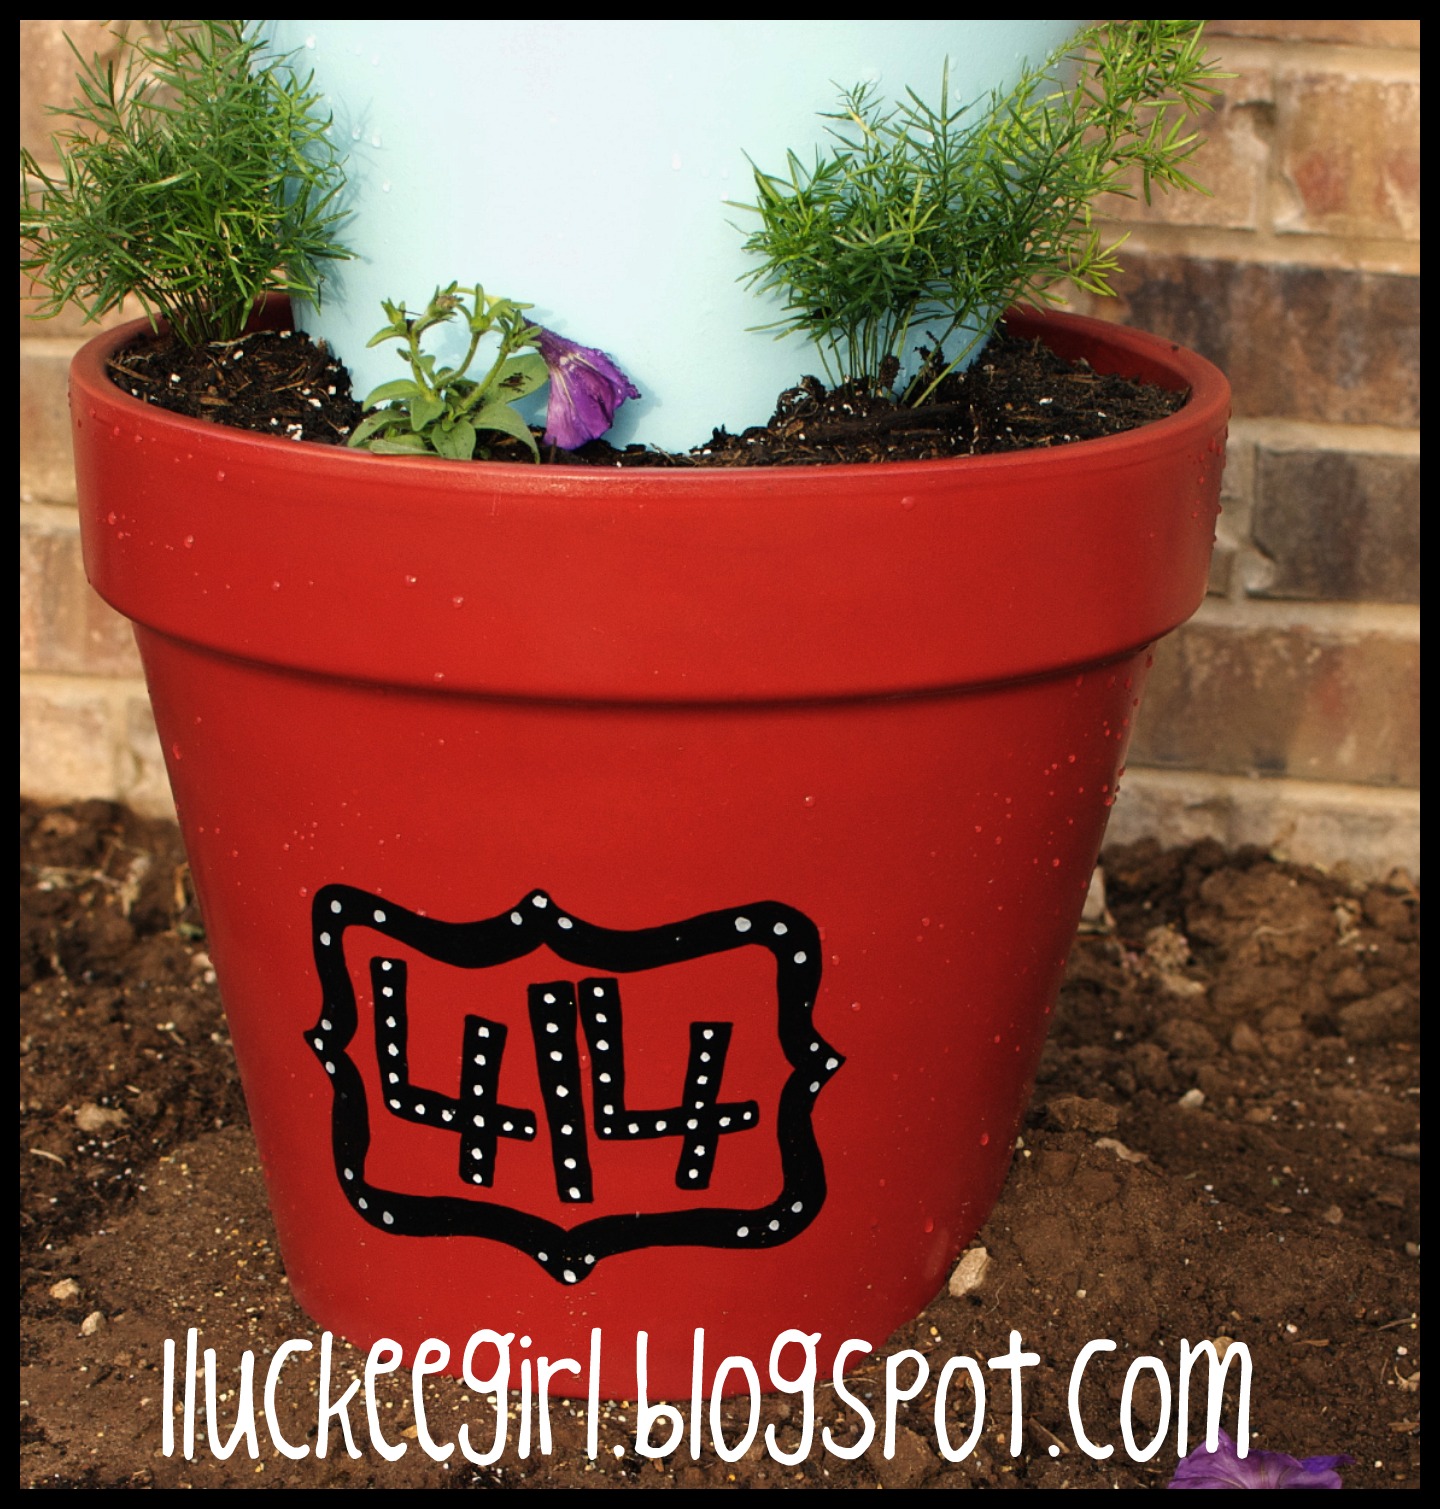
I did find one of my terra cotta planters {the one in the middle} at a garage sale for $1...and it sat in the flower bed empty until a few weekends ago.... I wasn't patient enough to find the others in garage sales so I bought the new bottom and top pot at Wally World...

I love how it turned out and would like to make a couple more as gifts...ohhhh or maybe as the second "get your craft on" night!!!!

Upclose of the house number...
I used my silhouette to create this but still used the pencil trace method to get it on the pot...then used paint pens...


Count the Happies!!!


XOXO,

LaKeta

Friday, July 30, 2010

School is Just Around the Corner...


And I am looking forward to a new group of students!!! This is such a fun time of year...a fresh, new start. Last year I scored an old metal desk on Craigslist for $25 and redid it in a fun zebra stripe/polka dot combo. I love it and my students all thought "it rocked"! lol!

This summer at one of the garage sales I went to, I saw two of these beauties...


I looked at them for a minute...walked around the sale and kept thinking I would probably be buying those two old student desks. When I walked back over to where they were sitting the lady having the sale said, "I will sale you both of those desk for 5 dollars."....what???$5 bucks for the pair...SOLD!!!!!

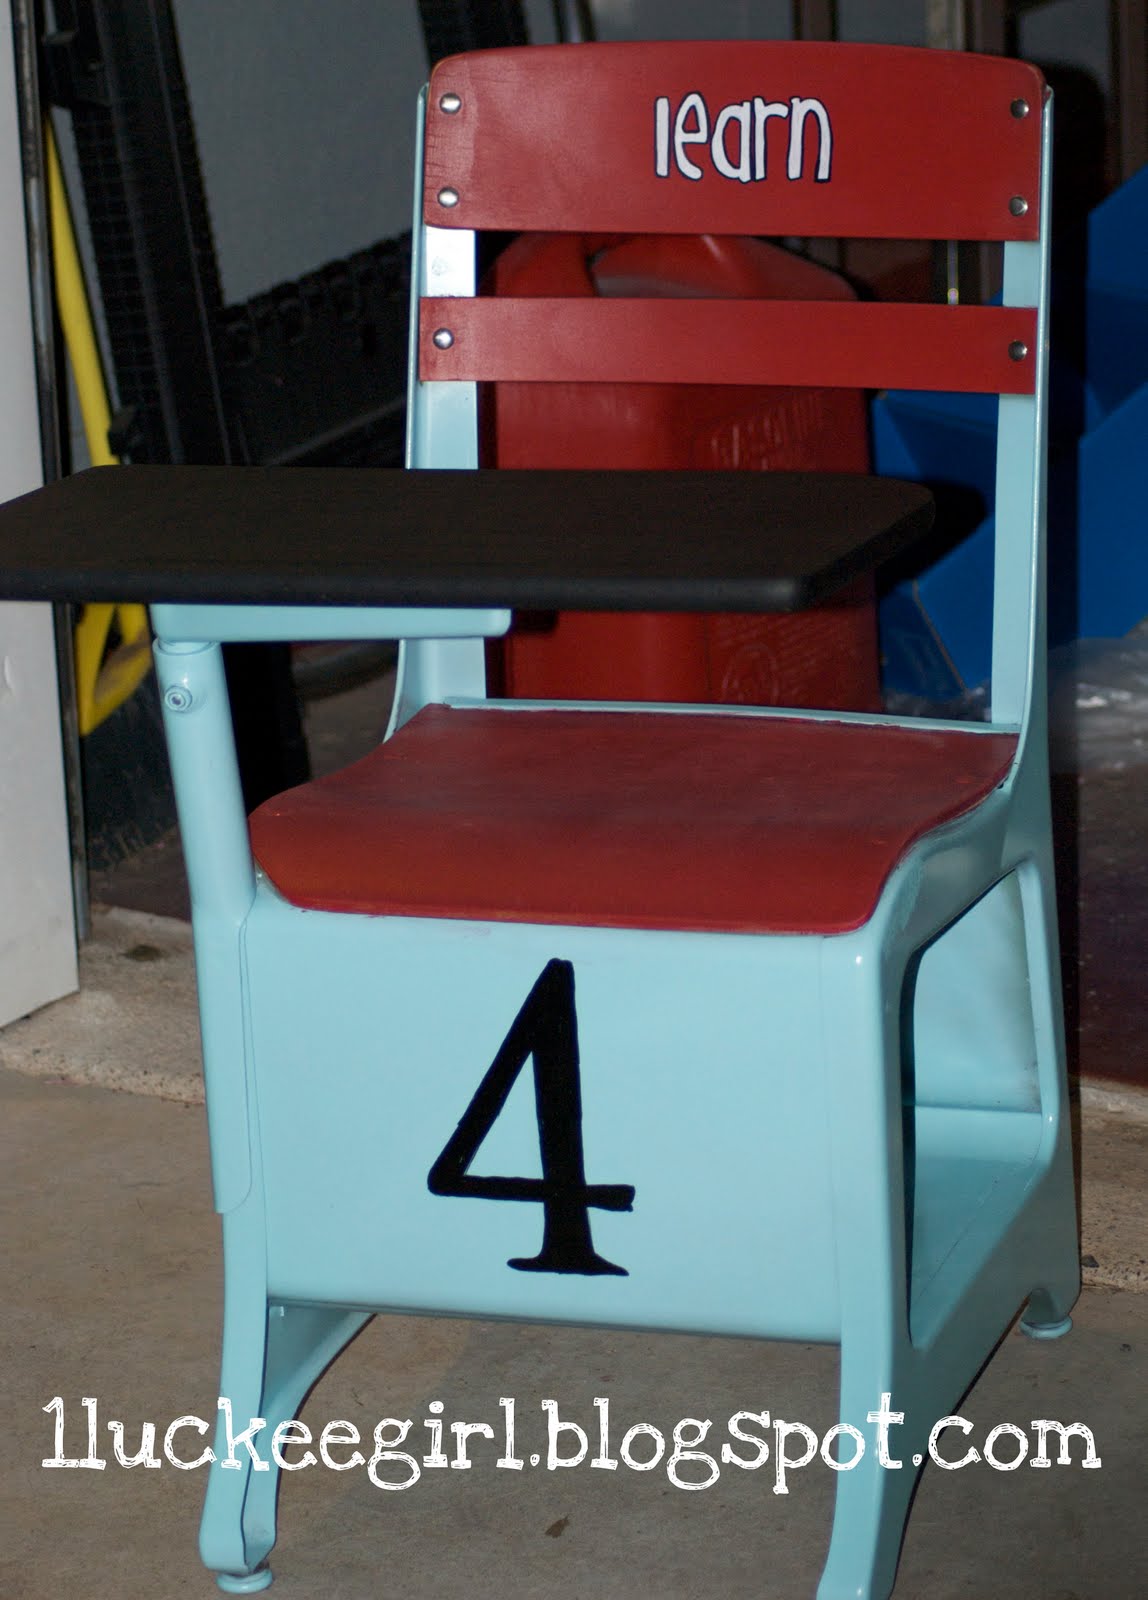
I brought them home and they sat in my {hubby's} garage until yesterday...since I report for inservice a week from Monday, I decided I better get these lil guys ready for their first day of fourth grade! I scrubbed them down with hot soapy water...lightly sanded them...and then completely had a ball painting them. I used Krylon's Blue Ocean Breeze to replicate that old, vintage school desk feeling. Then I decided that the seats and back slats needed to pop a little more, so I used my FREE Glidden paint sample in Candy Apple Red on one of the desks, and decided to spray paint the other in Krylon's Ivy Leaf green....I used this color on my desk last summer too! Then I chalkboarded the tops...they will be writing stations so how much fun will it be to write ON the desks and not get in trouble?!?!?! Then I decided the needed something else...so I added my two favorite words...grow and learn...still needed something else....

Then it hit me....NUMBERS!!!! 4 on the learn and 2 on the grow desk.... "2 grow you must learn 4 ever"....yea!!!! I am super excited with how they turned out!!!!!!!!






Join us Saturdays at tatertotsandjello.com for the weekend wrap up party!
Funky Junk's Saturday Nite Special

Wednesday, July 28, 2010

Out of this World....Classroom Message Globe


So after being completely blown away by Stephanie's {Under The Table and Dreaming} Globe makeover I knew I needed one for my classroom...I decided that I would look for a globe and figured it would take me a while to find one...believe me the one in my classroom did cross my mind, but we actually use that globe in Social Studies, so I quickly discarded that thought...hehehe!


Then low and behold...as I was going through some leftover stuff from a retiring teacher, I spotted this beat up, old, dusty globe stashed in a corner. Could it be???? Were my eyes playing tricks on me???

No...it really was there hidden among many other treasures. So I brought this little guy home and followed the tutorial given by Stephanie...except I didn't use spray on chalkboard paint because I still had some in a can, so I just brushed a few coats on. I did spray paint the base in a silver metallic Krylon brand spray paint...and after 24 hours....this is my new little message center for my classroom... I am in love!!!!


My students are going to love this!!!! I have a feeling we will go through quite a bit of chalk this year!!!! ;)


Thank you Stephanie for sharing your makeover....

and guess who else thinks this is a good idea???? Someone with the initials PB...hmmm...


Sunday, July 18, 2010

My PB Teen Knockoff with a Twist...

Yesterday, I had just a few minutes between my Hobby Lobby run and going to Sam's {without kiddos} so I thought I would run into the Goodwill just to see if there was anything calling my name...I am soooo glad I did! I found this darling ugly lamp shade for a buck 99!!!! I have been waiting for just the right shade to come along so I could redo it for Chloe's room. I am in love with with the Dottie line from Pottery Barn teen, but the shade alone is $35!!! Whoa!!! Not this girl....


So I brought this jewel home and began tearing it apart...I did a search on lamp shade makeovers and realized that a lot are trial and error, so I decided to just go with it...my shade {unfortunately} did not have a lovely white lining on the inside, so the red stayed on. I started with spray adhesive to attach my polka dotted fabric to the outside of the shade. Next came out the big guns {HOT GLUE} I used it sparingly to tuck the fabric into the inside...when I thought it was done, I plugged it in a got glowing red dots??? What? No that isn't the look I was going for at all...ummmpppfff! So I decided that the inside had to be lined as well...now the inside is not as pretty as I am sure the PB one is, but once I got it all covered with the polka dot fabric I no longer had glowing chicken pox...


After it was all wrapped and glowing up nice and pretty, I decided that it could use a little more umph!!! So I added the three rolled flowers out of the white with tiny black polka dots material...they are actually on the seam line of the fabric lining the shade...and then the base just need a little bit of something...seeing as though I hadn't given it ANY attention...so I ripped another long strip of the flower fabric and tied a cute little bow...added a splash of hot glue to attach it and there she is....I heart her!!!!


See no glowing chicken pox!!!!

Here was my inspiration...


Photo from pottery barn


Linking Up Here:

Join  us Saturdays at tatertotsandjello.com for the weekend wrap up     party!


The Girl Creative

Simpsonized Crafts


Funky Junk's Saturday Nite Special

UndertheTableandDreaming


Saturday, July 17, 2010

Take Me Out to The Ballgame...Name Decor


So...I have had this idea floating around in my head ever since I saw this idea at Shanty2Chic. I loved the use of letters on top of boards...I already had some square boards from another project, but mine were quite a bit smaller than what the shanty sisters used. I also had the "S" that I had bought a long time ago...don't even remember what I was going to use it for...my mind tends to go on overdrive, crazy maniac mode when I search blog land, and I tend to think I NEED to make everything I see;) Does anyone else have the problem? HeHeHe!

Anyhow, I bought the last three letters of my son's name while the unfinished wood was 50% off at Hobby Lobby. Spray painted the scrap boards Heirloom White, sanded them and used some OLD faux glaze I had on hand. Then I spray painted the letters with Walmart brand red spray paint, sanded, and glazed them up too. I hot glued the letters on and then I needed something to hang it up with. I liked the chain idea, but wanted a little different feel to this name decor. I am going to be redoing Seth's room in a vintage baseball feel very soon, so I started scouring hobby lobby for something different to use...and found the jute upholstery stuff for .99 cents a yard!!!! Wow!!!! I am in love with this stuff...and must make something else with it. I also decided that I would hang it vertically so I used my staple gun to attach the jute to the back of the boards and hung it with upholstery nails...I love how it turned out and so did my super sweet Seth!


Linking up here:

Wednesday, July 7, 2010

Placemat Flag

I am in love with the clearance aisle of many stores, but I especially luvvvvv the 80% off aisle at Hobby Lobby!!! On a recent trip with my mom I spotted these cute little pink placemats...hmmmm $1.36....my wheels went to spinning and then I decided that I could make a new flag for my front flowerbed, so the little pink jewels went home with me!


I used my hot glue gun to glue the top edges together and then leaving enough of a "casing" for the flag pole to fit through, I hot glued the flags together (right underneath the beading in this case). Then I hot glued the sides and the bottom edges together. Next, I traced the big circles on and painted them using white acrylic craft paint. I then used my cricut to cut out my house numbers and traced them on with a pencil. Finally I outlined and painted the numbers in using my paint pen. Added the black outline to the white polka dots. I really like how it turned out! It sure beats the fuhaded flag that was out there and adds a certain pop of color to the front yard!


I will now be scouring all clearance aisles for more colors and adding new flags to my yard...so much more affordable than the 10-20 bucks I see most of them go for!

linking up here:
NightOwlCrafting
The Girl Creative


”Creations


Join  us Saturdays at tatertotsandjello.com for the weekend wrap up    party!


Photobucket

Swidget 1.0

LinkWithin

Related Posts with Thumbnails